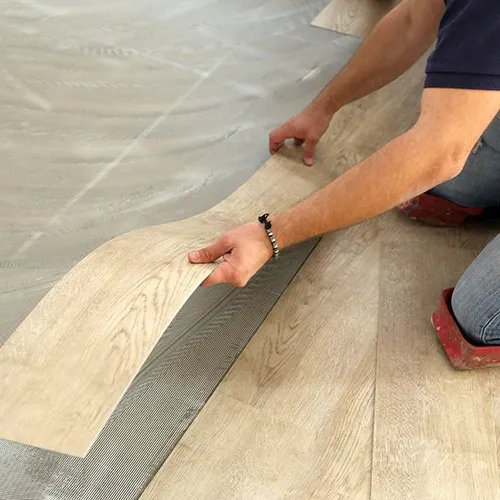
How to Install Vinyl Flooring
Luxury vinyl flooring is easy to install. Many products don’t require adhesive, relying instead on click and lock technology that snaps together to form a solid, watertight surface.
We highly recommend a professional installation by our vinyl specialists for a stunning floor that stays that way as long as possible. Expert installation helps adhere to warranty standards and minimizes the potential for improper installation.
It helps to be prepared! Your involvement will help the process go smoothly, quickly and efficiently. Knowing what to expect eliminates stress for you and your family.
Before, on and after installation day

Before Installation Day
Here's what to expect:
- You'll decide in advance what to do with your old flooring - typically our team is able to remove and dispose of it for you.
- We'll start by moving all of your furniture, but you'll need to prepare by removing all smaller items from drawers, walls, and closets.

On Installation Day
Next, it's finally time for your vinyl installation:
- Make sure you or an adult member of your family is home on installation day.
- Keep your family safe by staying out of the work area. That includes pets and children.
- Doors may need to be trimmed to account for the height of your new floors, and trim such as baseboards may need to be removed.
- Walkthrough the work area with your installer so proper expectations are set.

After Installation Day
The work isn't over once our team leaves:
- Don't walk on your new vinyl floors for at least 24 hours after they've been installed to ensure seams seal properly.
- Keep the room climate controlled per settings recommended by your installer or manufacturer.
- Wait about a week before you start a proper maintenance routine to allow any adhesives to set.
- Dust and odors may linger, so establish good ventilation by opening windows and running fans.
- Use furniture pads to move furniture back into place.

